Advertisement

Announcement

Collapse
No announcement yet.

Water Temple Guide

Collapse
X
 
  • Filter
  • Time
  • Show
Clear All
new posts

  • Water Temple Guide


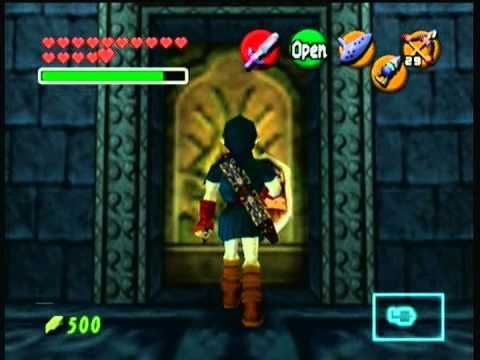
    We start out the Water Temple and sink to the bottom, here in the 1st room we encounter Princess Ruto. After a breif chat we follow her to the top of the room but lose her. We fight of a bunch of enemies and get the Dungeon Map. Now in this next room we find a wall mural that if we play Zelda's Lullaby, it will lower the water level in the dungeon. There are 3 of these in this dungeon, so I suggest placing a warp point here with Farore's Wind. Now back at the bottom of this room, we shoot arrows through the torch to light the other torches. This lets us into the next room, which after fighting off some more enemies, we get our 1st Small Key.

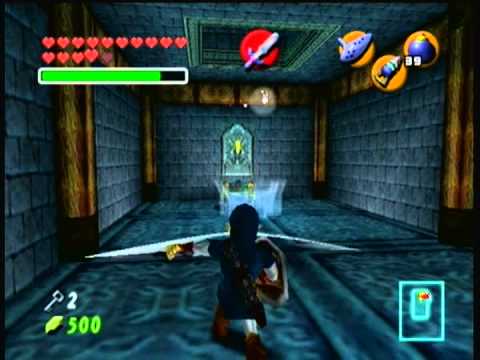
    Now backtracking to the main room, we now head to our left and use a bomb to blow up the cracked floor. From here we advance to the next room and solve its puzzle to get Gold Skulltula #72 (use a spin attack to hit the Crystal Switch.) We now head back to the main room.

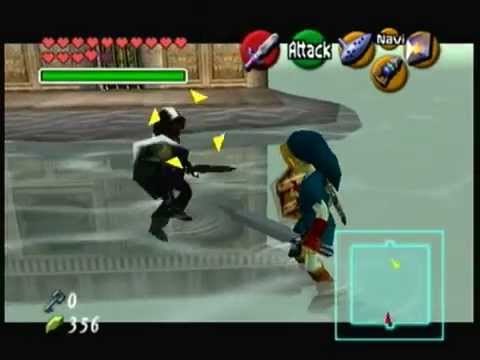
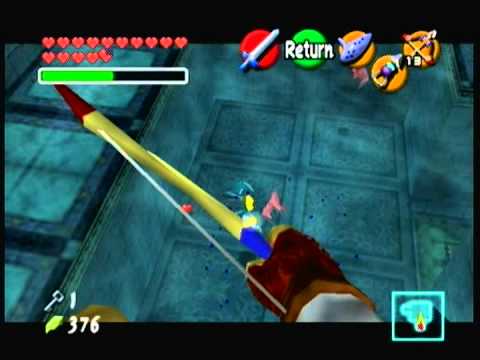
    Once there we head left and get onto the step to push the block out of our way. After swimming into the next room we hit a crystal switch to raise a geyser and cross the room. In the next room we fight off the current and hit another crystal switch before quickly latching onto the hookshot target and floating up to our 2nd Small Key.

    Now back in the main room, we unlock the door to the central Pillar. To be continued.

  • #2


    We start out by Playing Zelda's Lullaby on the 2nd Mural which raises the water to the 2nd floor. We then jump in the water and sink into the new hole with the Iron Boots. We hit the Crystal Switch to release a bunch of enemies which we take down quickly, then surface through the new hole to get our next Small Key. From here we backtrack to the main pillar. We head to the eastern room and hookshot over the obstacles, we then use the hookshot to hit the crystal switch and quickly open the chest to get the Compass. Now heading back to the main pillar. We now sink to the bottom and hear over to where we met Ruto, then float up to a cracked wall. We bomb it and get our next Small Key before heading back to the main pillar. Now heading through the western door we lure our a Blue Tektite from the room above and hit the crystal switch while standing on the geyser. We find the 3rd Mural and play Zelda's Lullaby to raise the water to the highest point and enter the western door. Here we find another Gold Skulltula but we cant get it so we ignore it and cross the room. In this final room of the video we take out the Blue Tektites before hitting the Crystal Switch to raise and lower the water level, getting us to the Mini-Boss' Door.

    Comment


    • #3


      The best way to take down Dark Link is to use Din's Fire non stop and refuel with Green Potions, I was stupid in the video and purposly tried using other methods. Some work yes, but not as well as Din's Fire. After taking down Dark Link we get the Longshot, which is the same as the Hookshot but with a much longer reach.

      After that we play the Song of Time to move a Time Block out of the way and jump down into a raging river with whirlpools or vortex's. We swim downstream and "carefully" collect Gold Skulltula #73. After many attempts to navigate this river we use our Bow to open the path to our next Small Key. We then head to the main room.

      Comment


      • #4


        We start out by backtracking to the path that leads to Dark Link's Room to get Gold Skulltula #74 that we had to pass earlier. The Longshot get it for us. Next we return to our warp point via Farore's Wind, and drain the water out again. From here we enter the central pillar and activate the 2nd Mural again. We then climb to the top to find Gold Skulltula #75. Outside the tower we now head to a tricky area. We shoot the eye switch with an arrow and then quickly Longshot over to the target before the gate closes. Once inside we pull the large block out of the wall and Longshot up to the main pillar again. From here we repeat the process and now push the block in a different direction to get out next Small Key.

        Now we sink to the bottom floor and head to the northern most entrance, we use the Longshot to navigate the room. In this next room we carefully take out the Blue Tektites and swim to the other side. In this next room we take out the stingers and bomb the two fake walls. We then solve the block puzzle and fill the room with water to get up to the next door. In the next room we take out the Blue Tektites before hitting the switch and crossing the geysers. Now back in the Vortex room we take out Gold Skulltula #76 and quickly dive under the mini waterfall with our Iron Boots to a hidden passage leading to the Boss Key. From here we backtrack all the way to the main pillar, raise the water to the highest point with the 3rd Mural, and get ready for the boss. Note: you have to run full speed up the slope to climb it, so time it right to manuver around the spike traps.

        Comment


        • #5


          The arena is a large square with 4 smaller squares inside, I fight in the 4 smaller squares because im not a rookie that hides in the outer ring and uses the shield glitch to kill Morpha. But anyway-

          Morpha's attacks: It can just jump into you which does minor damage but if one of its tentacles lies down and snares you, it'll throw you across the room for major damage. Also watch out for the spikes all around the room.

          Strategy: You need to use the Longshot to yank Morpha's core out of it's body and then slice it to pieces, this can be tricky as it moves around a lot. It's best to yank it when it's tentacles lie out and the core moves through it. Keep moving or you'll get snared by the second tentacle that Morpha brings to the fight about halfway through. Repeat for a victory.

          Comment

          Working...
          X